7-8 min read – grab a coffee/tea and join me for some inspiration:)
A quickie one for the beginning of the week:). Ok, I THOUGHT it would be a quicky because I thought I wouldn’t have that many different examples… but I was wrong:D.
*If you’d like to watch how I set up my January this year, I have just released this video (it’s not the same as in the blog post so you won’t be bored;).
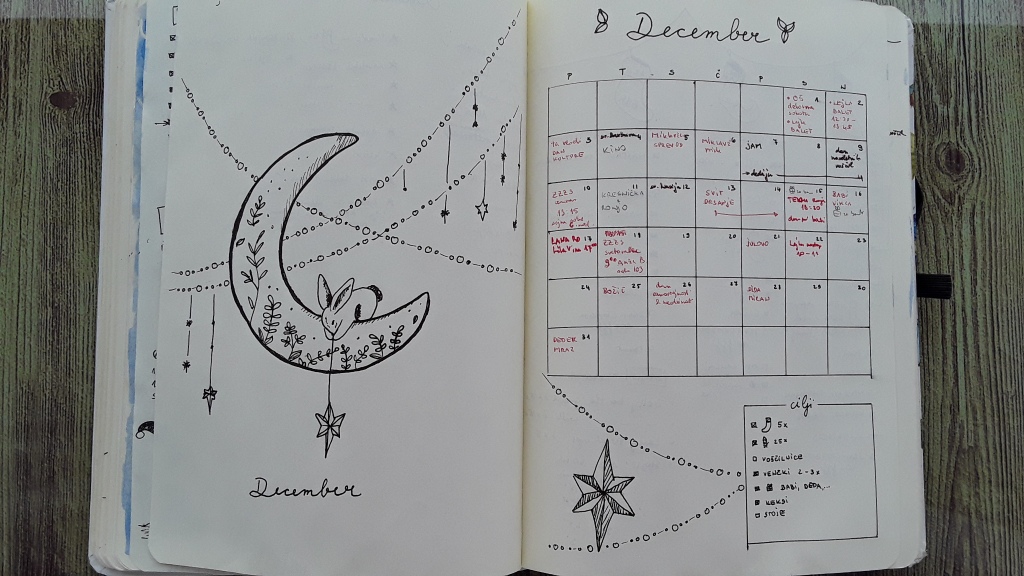
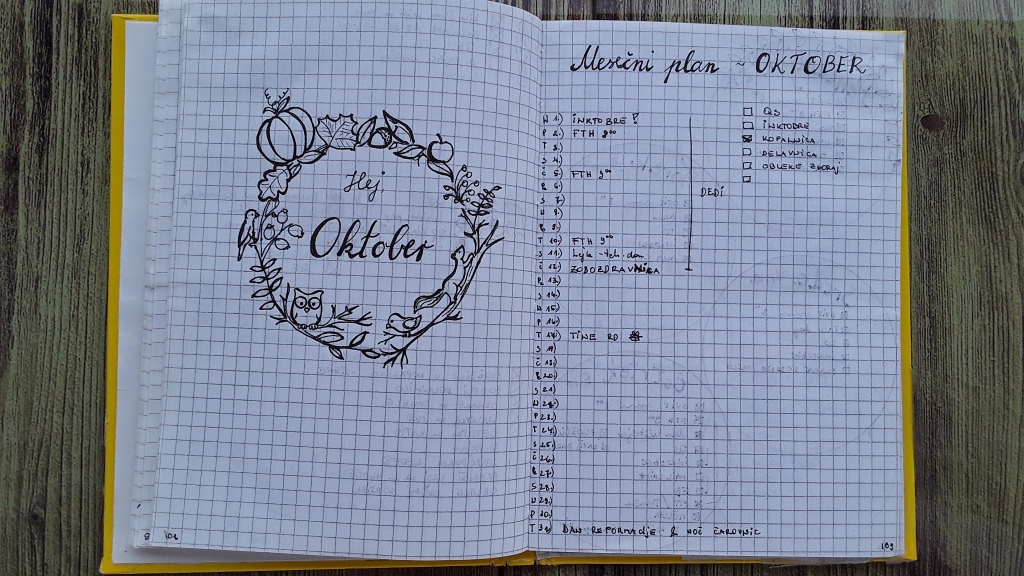
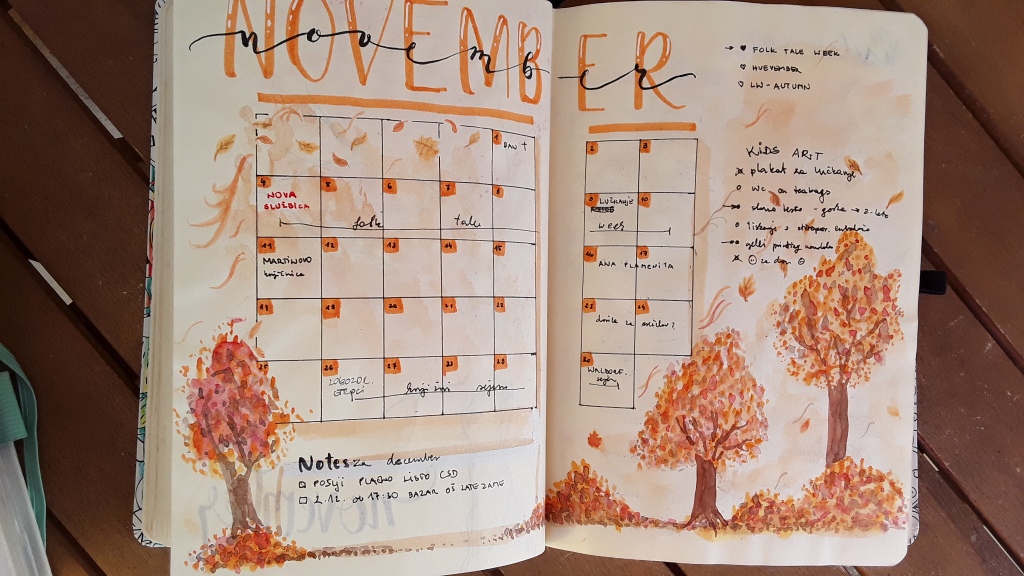
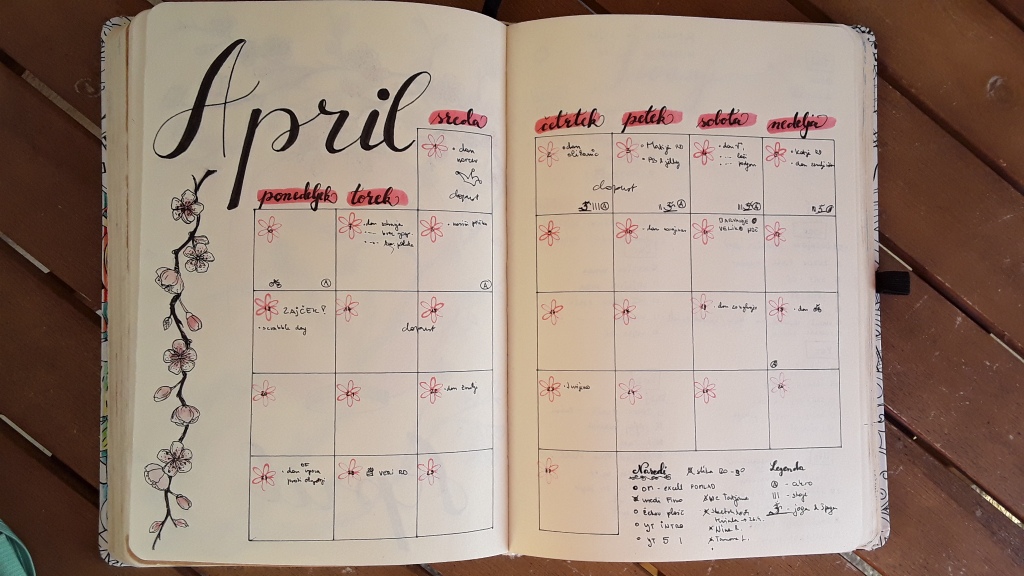
Monthly is a spread where you put the whole month onto one spread (it could be on a page but more often than not it is done on a double-page). It is very useful and many times we just do that if we’re really pressed for time. My teenage daughter also started with this spread when she just tackled bullet journaling (now she’s hooked already;)).
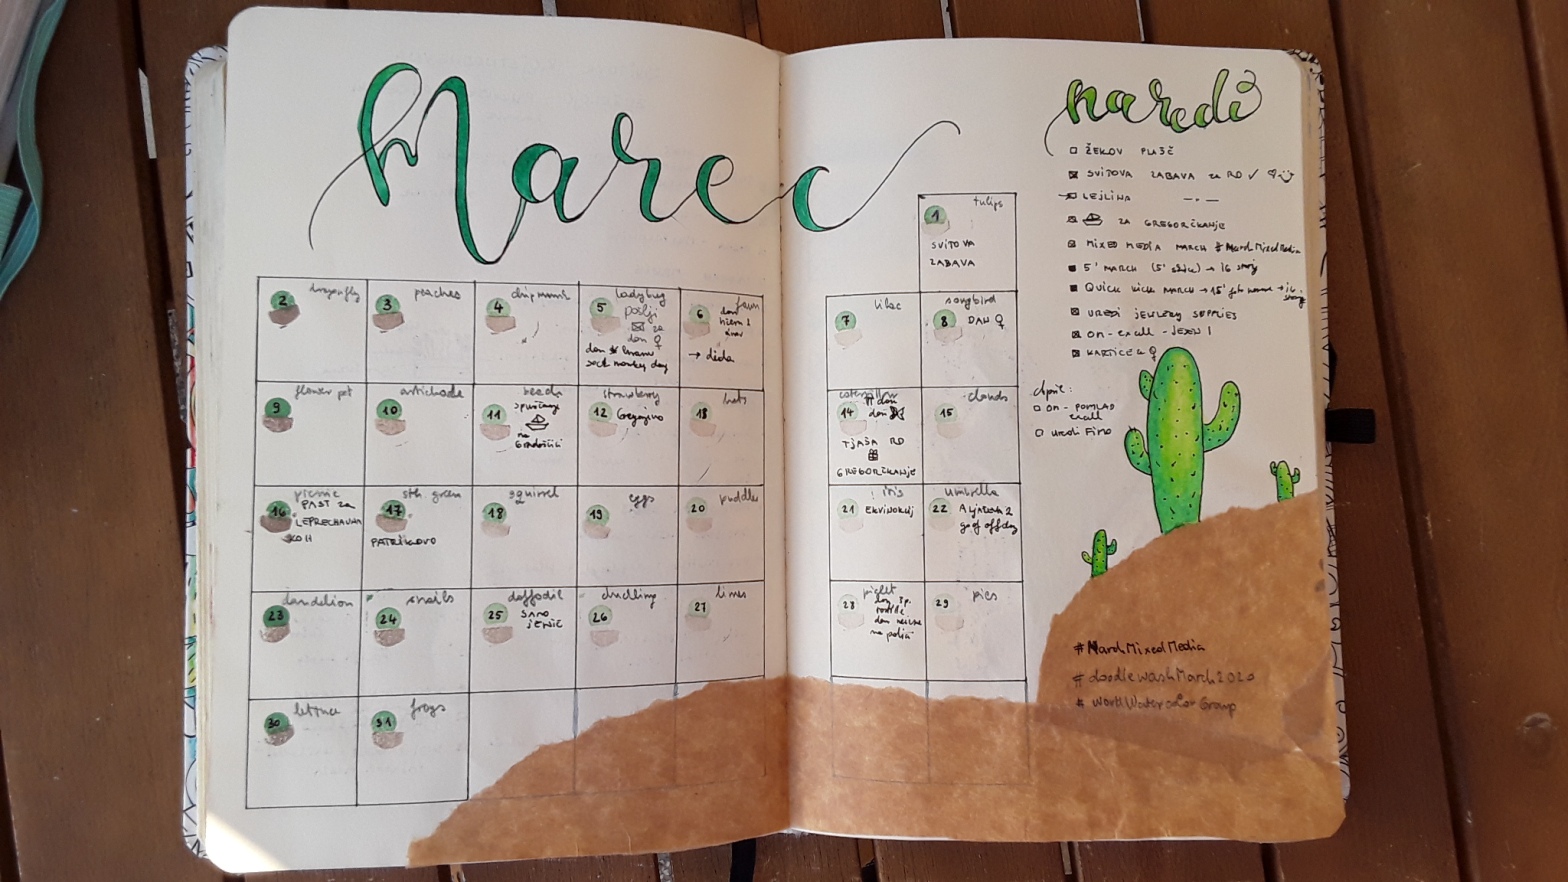
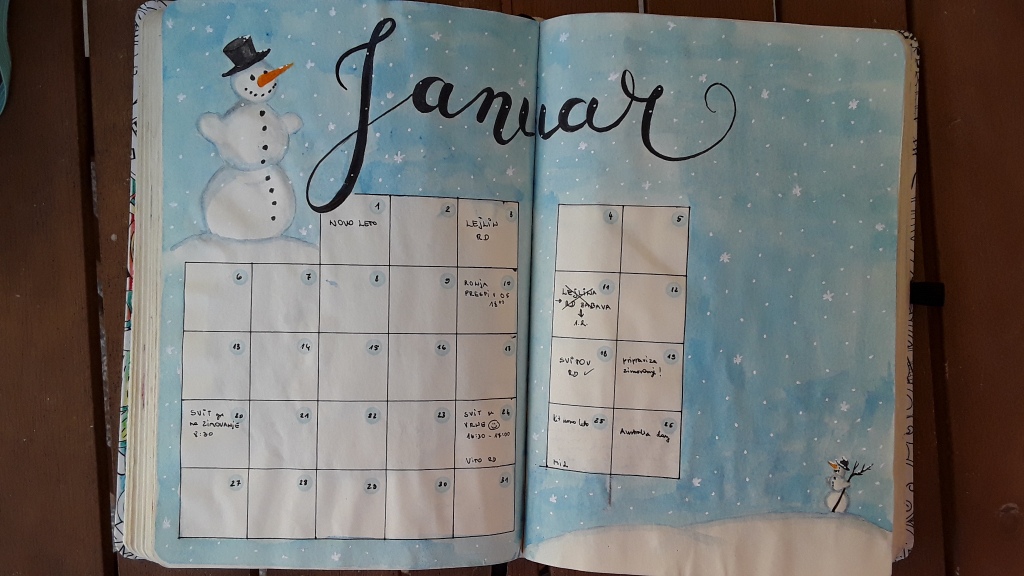
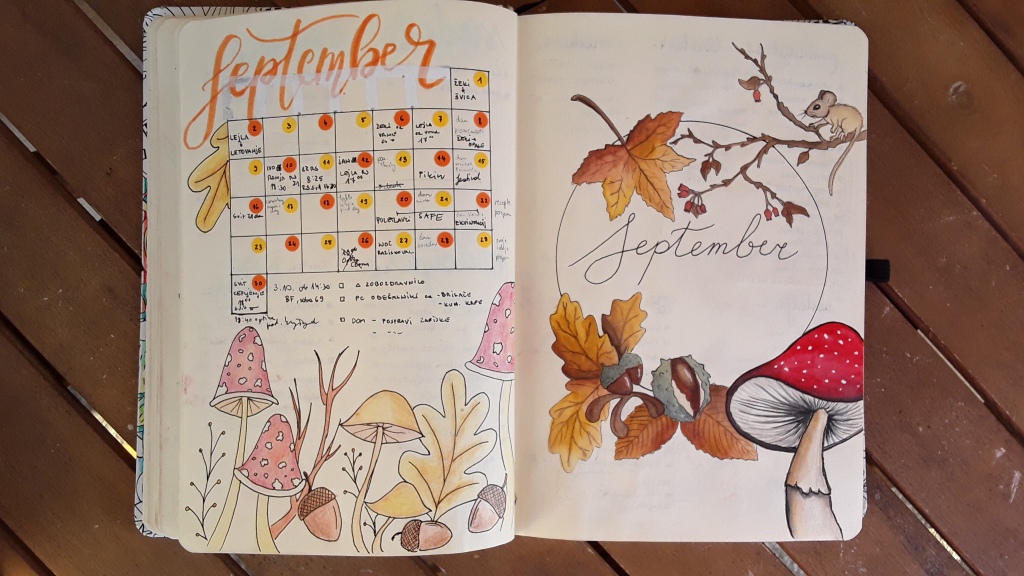
There are not so many designs for the monthlies as there are for weeklies and for lists – for one simple reason – there are not so many possibilities how to put down 28-31 spaces that you could actually write down something so it would be legible and nice. The most used spread is the one with rows of squares, rectangles or circles, one for each day – so the most logical setup is to have 7 columns and as many rows as there are weeks in that month. Kinda like the old wall calendars:).
There are a few variations, though. If you are like me and want to have room to decorate the spread, I’d suggest you start your grid with the first day of the month and end it with the last day of the month – in other words – don’t make empty spaces on your spread;). You have to think about that ahead of time, though – otherwise your corrector will be busy – as in my example above;). If you are an OCD or any other very “what is right is right and straight should be straight” kind of person, you would probably hate the idea of broken rows so do your jam (a perfectly right angle table in this case) and be happy;). Or if you just hate measuring where the month actually starts and the idea of correcting it afterwards gives you a headache, just do the whole rows and call it a month;).

I’ve also tried to put the whole calendar on one page as many people do… but for me, that’s just not enough space. I had to write very tinyly and it quickly looks crowded.
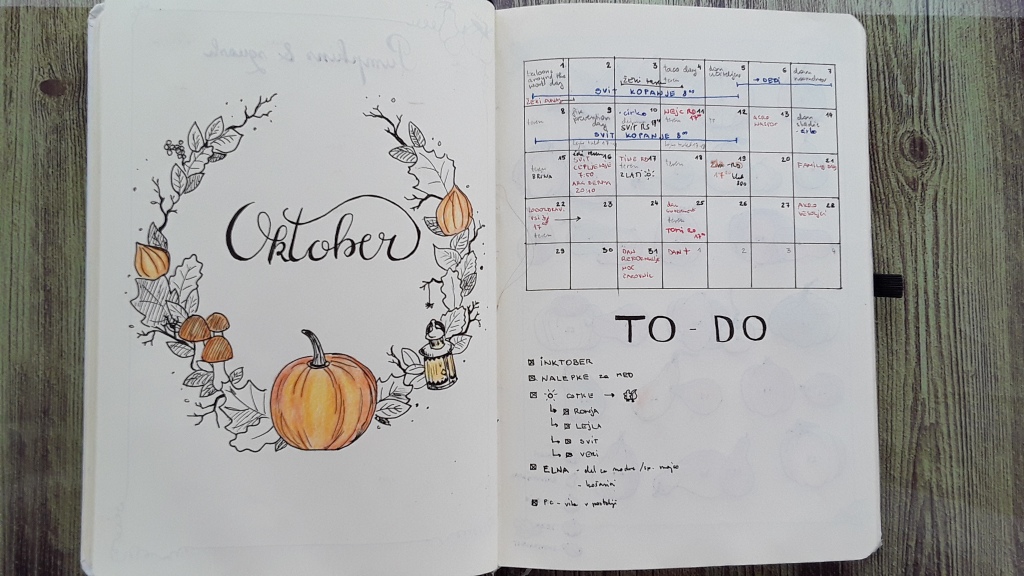
But the covers can look really nice, though. I mediated that by doing a cover separately and then the monthly on a double page spread. So I get the best of both worlds. But these examples give you an idea that you can really play around with monthlies as well.
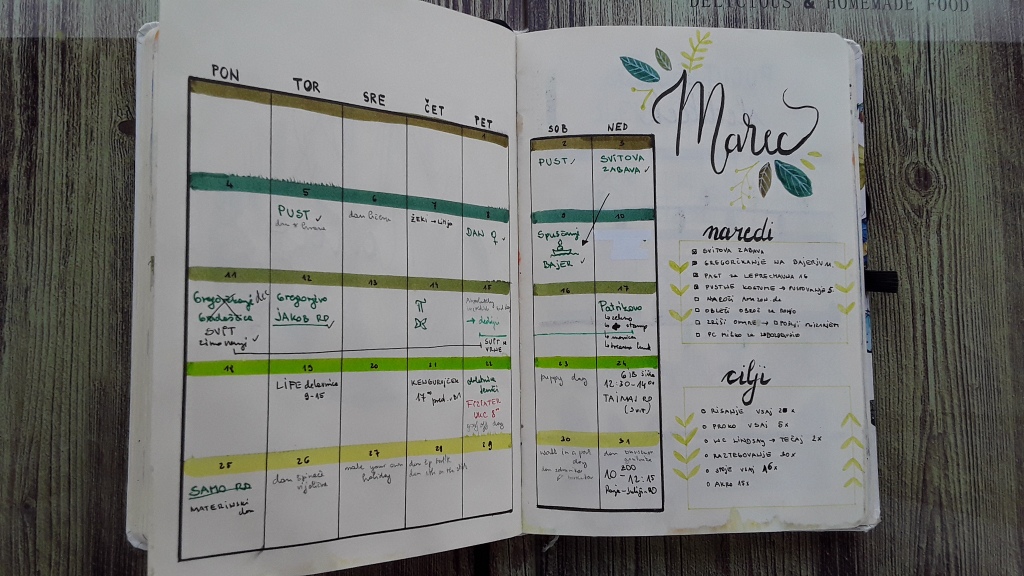
Another idea is to list down all the days in rows (one for each day) – that leaves the other page for decoration (a cover) or a tracker or “to-do-this-month-list” but looks a little bit more cluttered if your handwriting is not so pretty – like mine;). And you have to write pretty small or it doesn’t work. My more technical alpha male likes this one the best, though – he can see it all at a glance – I just get lost in the rows…
I have also tried other ideas because I get bored quickly if I have to repeat the same things too many times (like more than twice;). So I tried to make the days into hearts or parts of snowmen, for example… Some ideas worked (hearts worked quite well, there was enough space even though the shape seemed less practical).
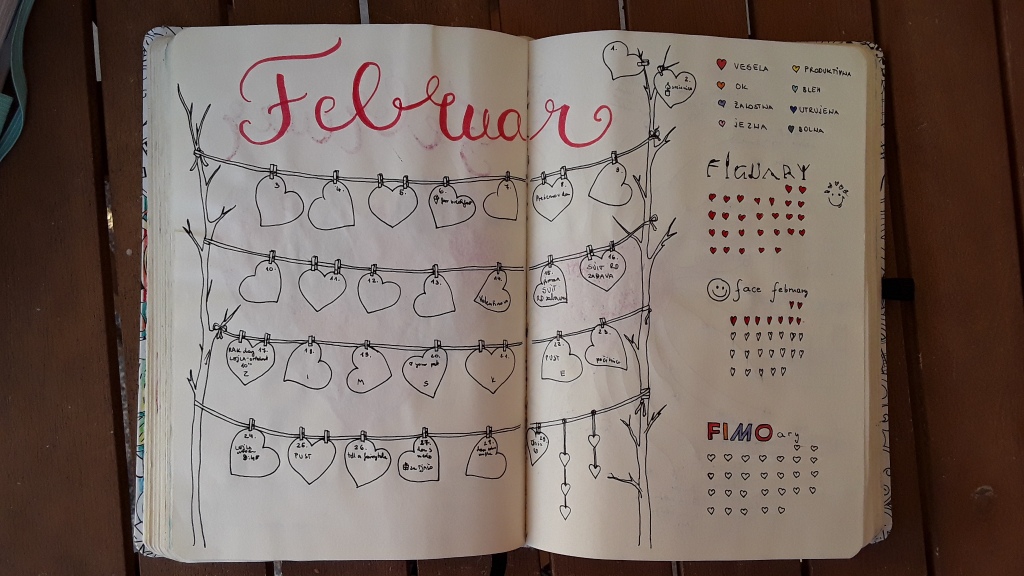
So I tried hearts again with a different variation;) I prefer the first one for the practicality though – it’s hard for me to read on the dark red background :D. You will find out your own perks as you go along this bullet journal journey:).
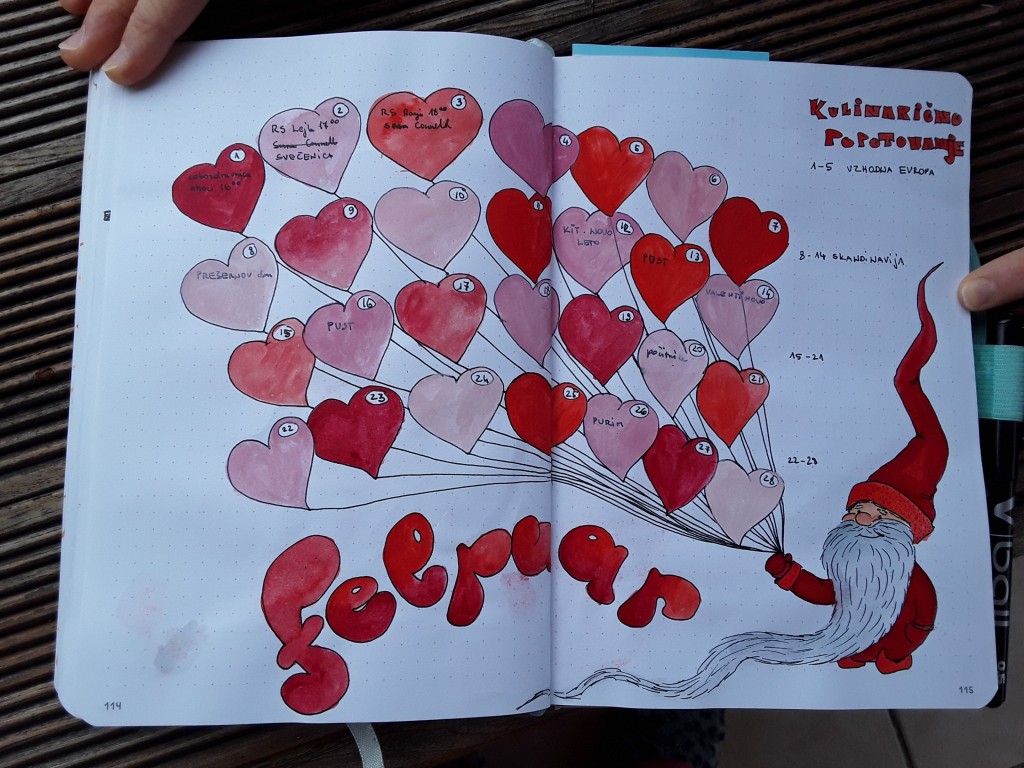
Some other shapes kinda worked but it was much more difficult for me to navigate and find the right day – as I’ve said I have a bit of a problem in finding things in the crowd;) – so that kind of a spread might be ideal for somebody who doesn’t need clean rows to navigate.
Some people are really really good at finding the exact space in a table/spread – I’m sadly not one of them… I will definitely keep on searching because I find this a challenge – and I rarely back away from a fun challenge;). I hope I come up with some fun variations this year – stay tuned:). You can see this January’s monthly and weekly setup here.
Final thoughts:
– start simple – like the spread below – you can just glue a pretty sticker or magazine cutout or a die-cut or even a temporary tattoo:), you don’t actually need to draw the flowers if you don’t feel like doing that (they are really simple though;).
– don’t be afraid to copy other people’s spreads – that is how we learn. Sometimes we make the exact copy so we learn composition and try different layouts. And then we adapt and take something from one person’s layout, something from a reference photo, something from imagination. But it doesn’t have to start with that. Feel free to use whatever idea you find – it’s for your personal use;). Just don’t promote it as your own work. Many of the spreads I’ve shown have been “heavily inspired” and some even copied from other people – I asked @constancechel if it’s ok to post them (because I copied her) and she was actually delighted that I’ve tried her spread! So people are very kind as long as you mention whom you’ve copied/taken inspiration from;). And @amandarachlee even encourages people to copy her spreads.

– when you get your feet wet and feel a bit more comfortable with the whole thing so you want to dive in more, do try something of your own, though! In my experience, those spreads are the most fun – at least for me! I had so much fun with this month’s spread because it was uniquely adapted to my “at that time current” situation:). I still love it to this day:)

Beautiful layouts!
LikeLike
Thank you so much! I feel bullet journaling is such an easy way into art – you have the excuse of planning:D.
LikeLiked by 1 person